The KeePassXC User Guide
If you haven’t done so already, please install KeePassXC on your computer. You can do this by following my guide to installing KeePassXC on Windows 10. When that is done, return here.
KeePassXC might look a bit daunting at first sight, but there is no need to worry. To use KeePassXC as a basic password manager only requires basic knowledge of the application. And when you’ve finished reading through this KeePassXC user guide, you’ll have the knowledge you need.
Without further ado, let’s get cracking!
Setting Up a Database
The passwords managed by KeePassXC is stored in an encrypted database. The first thing we have to do is to create that database. This is something you only have to do once.
If you haven’t done it already, launch KeePassXC. You’ll see the screen blow.
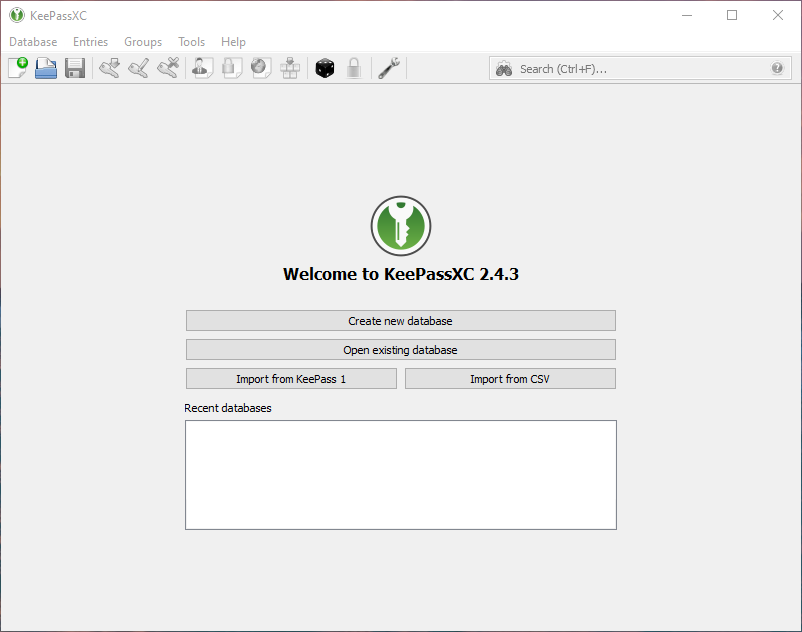
Click the “Create new database” button. This will launch the new database wizard. Enter a name for your database, and an optional description if you want that. Then click the Continue-button.
The next screen will show the database’s encryption settings.
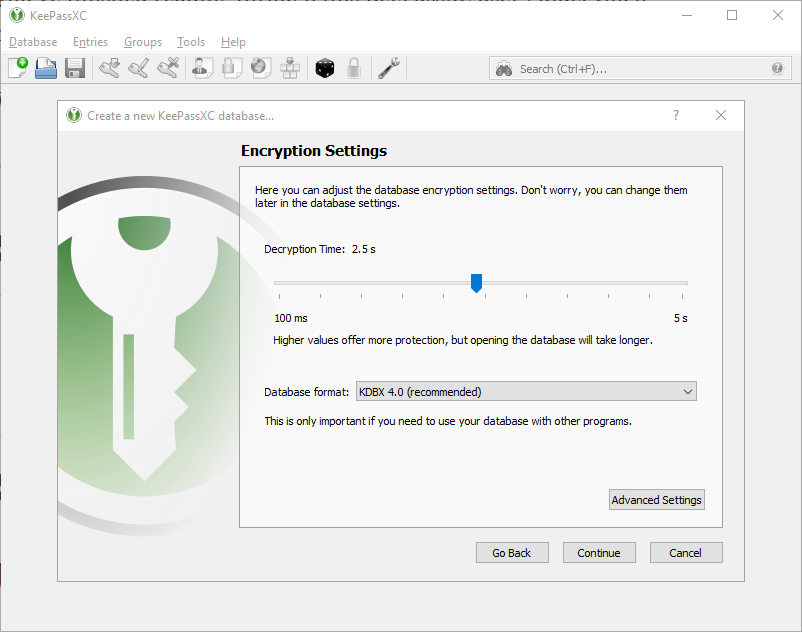
Change the “Decryption Time” to 2.5 seconds. This will make the KeePassXC database more secure than the default settings. Click the Continue-button.
The next screen will prompt you to enter a database master key.
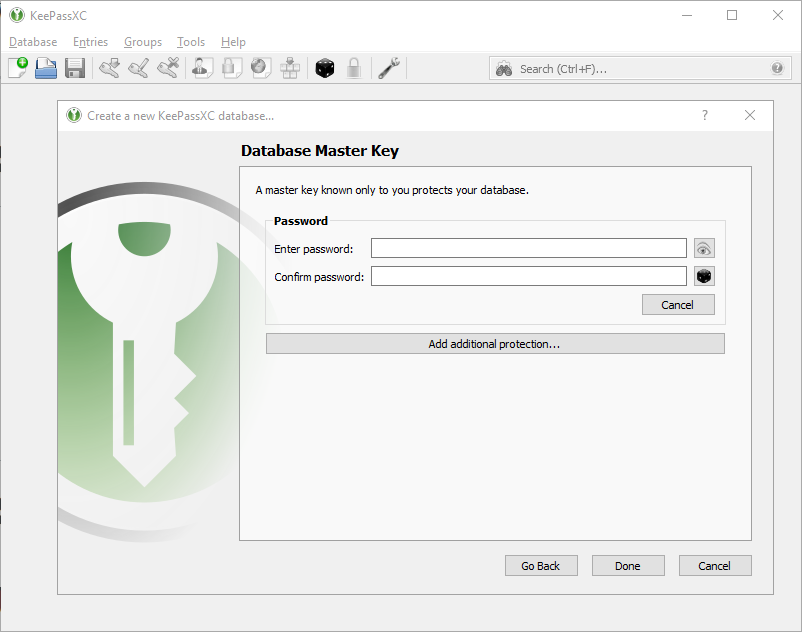
The database master key will be your most important password. This is the password that will be used to unlock the KeePassXC database to you can access all the passwords managed by the application. Because of this, you have to use a good password, which means a long password.
To have KeePassXC generate a database master password, click on the dice to the right of the “Confirm password” input field.
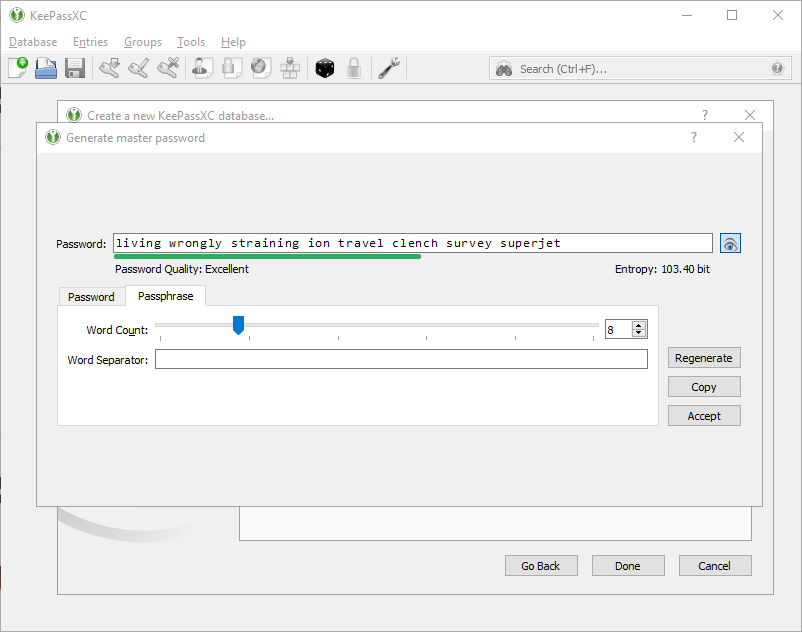
Click on the Passphrase-tab, and increase the word count to 8. This will generate an excellent password for you. Write it down, and put the note somewhere safe. Note that if you forget your master password, and misplace the note, you will not be able to access the passwords stored in KeePassXC. Click the Accept-button, and then the Done-button.
A save-dialog will open. The default name and location of the KeePassXC database is good enough for most users, so just click the Save-button.
Your KeePassXC database is now configured and ready to use.
Storing Your First Password
Let’s store you first password. We’ll do this by changing the password for one of your online accounts. Exactly how the password is changed will be a bit different from site to site. Log in to your most used site on the internet, and find the settings that allows you to change your password.
In KeePassXC, click on the Entries menu, and then select “New Entry”.
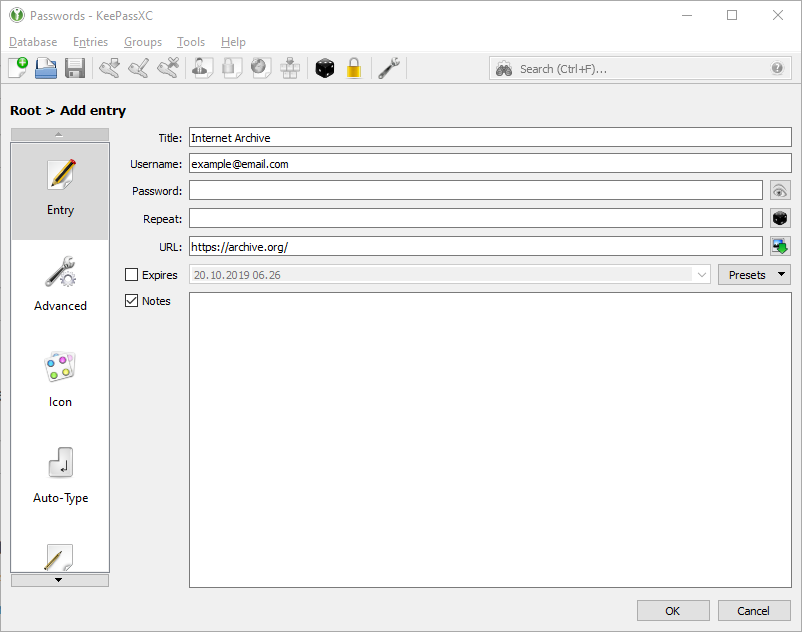
A blank password entry will be opened. I’ve used the Internet Archive in this example. Fill out the Title, Username, and URL fields so they match the site and login you’re storing in KeePassXC.
To generate a password, click on the dice to the left of the input field Repeat.
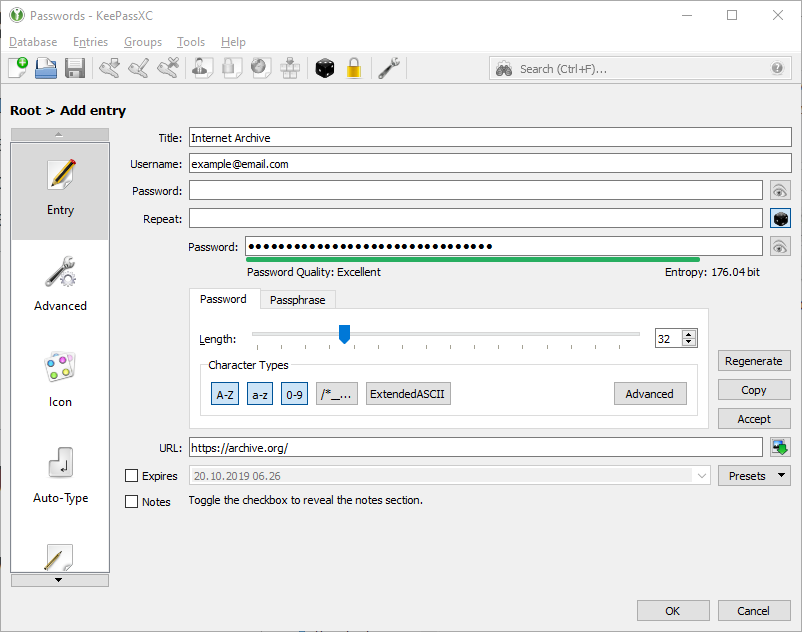
Click on the Password tab if it’s not selected already, then set the password length to 32. Next, click the Copy-button, and paste the password into the relevant fields on the site where you’re changing your password.
KeePassXC will automatically clear the clipboard after a few seconds. If nothing is being pasted into the password fields on the site, click the Copy-button in KeePassXC again, and paste the passwords into the relevant fields.
Next, save changes on the site to make sure you activate the new password generated by KeePassXC. If the sites complain about the password, try to tweak the generator settings to comply with the site’s rules.
In KeePassXC, click the Accept-button, then the OK-button. The password is now stored in the password database.
For each login you want to use KeePassXC with - and that should be every login - you’ll have to repeat the above process to create a unique record.
Using Your Stored Password
Now it’s time to log in with the password we just saved in KeePassXC.
Log out of the service and go to the login again. Then, in KeePassXC, select the entry you just created.

From the application menu, select Entries, and then “Copy username”. Paste the username into the site’s username field.
Do the same for the password. From the KeePassXC menu, select Entries, and then “Copy password”. Past the password into the site’s password field.
And then log in. You just logged in with a long, strong, and unique password that you didn’t have to memorize. Pretty neat, eh?
What’s Next?
Copying the stored username and password from KeePassXC and pasting them into log in forms on the web is a bit cumbersome. Thankfully, there are browser extensions that can do this for you. The extensions will automatically detect that you’re trying to log in to a site, and will fill out the login form with the correct username and password.
In the next entry in this KeePassXC series, we’ll see how you can install a Firefox extension that integrates seamlessly with KeePassXC.
Feedback
This post has no feedback yet.
Do you have any thoughts you want to share? A question, maybe? Or is something in this post just plainly wrong? Then please send an e-mail to vegard at vegard dot net with your input. You can also use any of the other points of contact listed on the About page.
